Single Sign On (SSO)
Prancer Web supports Single Sign-On (SSO) for corporate login with Azure accounts. The admin must provide access from the SSO screen and set up the Service Principal Name (SPN) before provisioning. The user needs to enable the setting to access company data, add API permissions, and grant admin consent. The admin can test SSO by populating the Azure Group members list with the required details and selecting users for provisioning. The provisioned users can access the application via corporate login, and the admin can manage the list from the User Management screen.
Azure users to be provisioned to use Prancer should be added to an Azure group.
Before provisioning, the user is required to set up the Service Principal Name (SPN)
Prancer Web is supporting the Corporate Login with Azure account.
To allow the user to login with an Azure account the admin provisioning SSO on the Prancer Portal has to add the user from the list shown from the SSO screen.
Enable setting to allow the user to access the company data.
Azure Active Directory->Enterprise applications->Consent and permissions->User consent settings-
Select the
Allow user consent for appsoption, under theUser consent for applicationssection. -
Add API permissions
- Open on
Azure Active Directoryand click onApp registrations - Select an application from
All Applicationslist - Open API Permission page:
Manage->API Permissions
- Click on "Add a Permission" button
- Select
Microsoft Graphoption fromMicrosoft APIstab.
Add the following permissions:
Application permissionsDirectory.Read.AllGroup.Read.AllGroupMember.Read.All
Delegated permissionsGroup.Read.AllGroupMember.Read.AllUser.Read
- After add permissions do the
Grant admin consentto apply the permissions.
- Open on
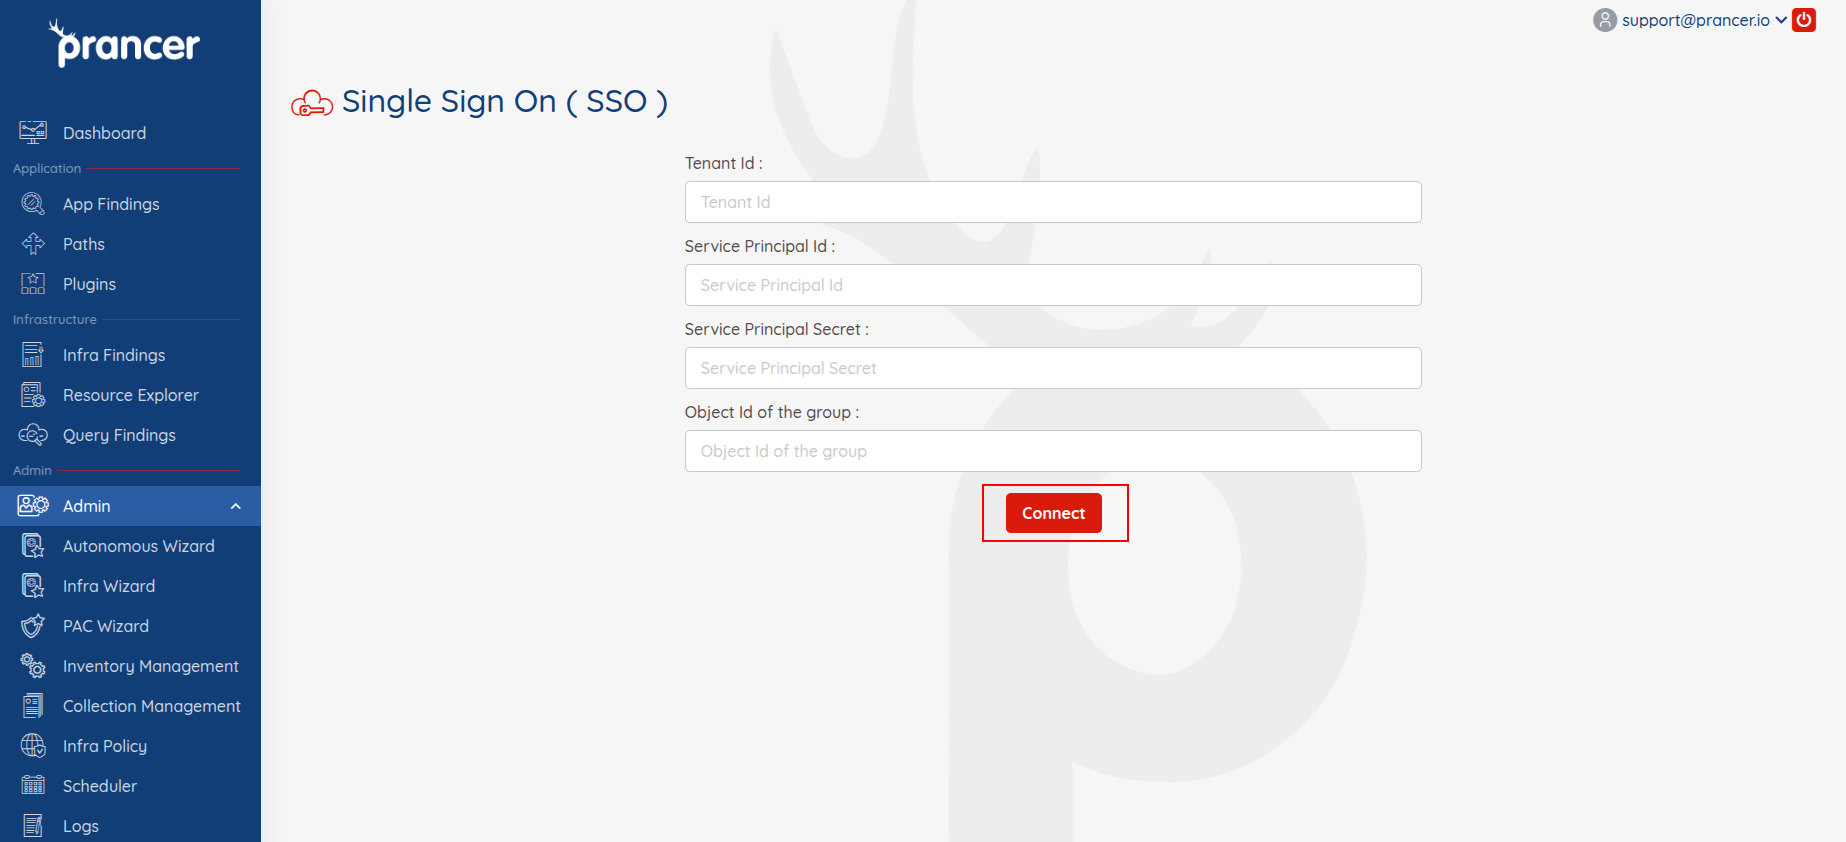
Require the following items to configure SSO:
- Directory (tenant) ID
- Application (client) ID
- Group Object Id
- Client secrets
Click on Connect button. It will populate member list from the Azure Group and display them on the UI. Admin can select one or more users from the list and provision those users.
- On completion of SSO provision, the users should use the
Corporate Loginbutton.

Admin can see the provision users list from the User Management screen and take back the access by deleting that user from the list.