Running a Scan From a PAC File Stored in GitHub
When it comes to running a PAC scan, there are two ways to set up a scan in PAC:
- Create the scan through the PAC Wizard
- Create and upload a PAC file to GitHub and directly pull that file to run the scan.
If you already know what needs to be in your PAC file, would like extra customizability, or don't want to go through the PAC Wizard and would like to directly edit the YAML file. You can create your own pac file, host it in your code repository, and run a PAC scan directly from your code.
Steps to Run a PAC Scan From a File
Step 1: Create a PAC file and upload it to GitHub

Step 2: Create a new collection in the PAC Wizard and follow Step 1 and Step 2 of this documentation pac wizard
a. Set up the the connector and configure application information.
Step 3: Add a Git connector to your PAC repo. Follow git connector for setup
{
    "branchName": "master",
    "companyName": "prancer-CompanyName",
    "fileType": "structure",
    "gitProvider": "https://github.com/<User>/pac-config.git",
    "private": false,
    "type": "filesystem"
}
Step 4: We need to have 4 fields in the PAC file
| Field name | Description |
|---|---|
| Collection | Name of collection created in PAC Wizard as mentioned in Step 2 |
| ConnectionName | Name of connector set as made in collection |
| CloudType | Name of cloud security provider used for pentesting |
| Application Name | Give your application a name for future references |
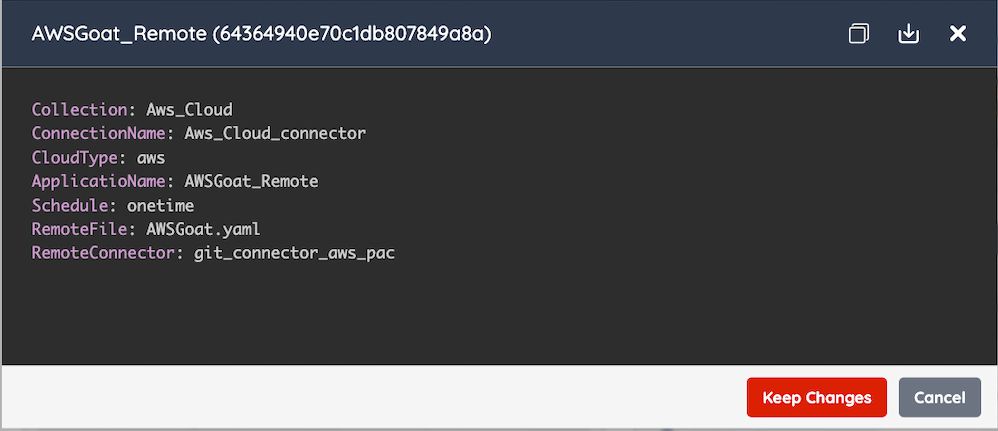
Step 5: Update the PAC file by adding two new fields, add RemoteConnector and RemoteFile
| Field name | Description |
|---|---|
| RemoteConnector | Name of the remote connector file |
| RemoteFile | Path to the remote file in the the git branch |
The final output should result like this.